Last night I made vegetable matzoh ball soup for dinner. Matzoh balls are a comfort food here in Barnacle-ville. You may recall Summer Vegetable Matzoh Ball Soup, which was a simple water based version. Last night I made it with homemade chicken stock that was in the freezer.. Chicken stock is pretty easy. Bill loves rotisserie chicken so I save the bones to make the broth. I like that nothing is wasted from the chicken. Respect the chicken. I admit that I use a pressure cooker, which speeds up and simplifies the process. You can save up the bones in the freezer until you have time to make it. You can use other bones or veggie scraps instead.
Barnacle Broth
yield 1 quart of broth concentrate
1 carcass from a rotisserie chicken
1 quart water
Place carcass (include skin if you wish) and water in the pressure cooker, and bring to a boil. Bring up to pressure and simmer 45 minutes. Turn off the heat and let the pressure come down naturally. Drain the soup, discarding bones. Pour the cooled broth into a quart sized container and refrigerate overnight. The next day, remove the yellowish layer of fat from the top of your broth, (which may be jellied). This golden disc is schmatz. Use it like bacon grease, or instead of oil in your matzoh balls. If you wish, freeze the stock and the schmaltz for later. When you use the broth, thin it with about 1/2 - 1 quart of water or to taste.
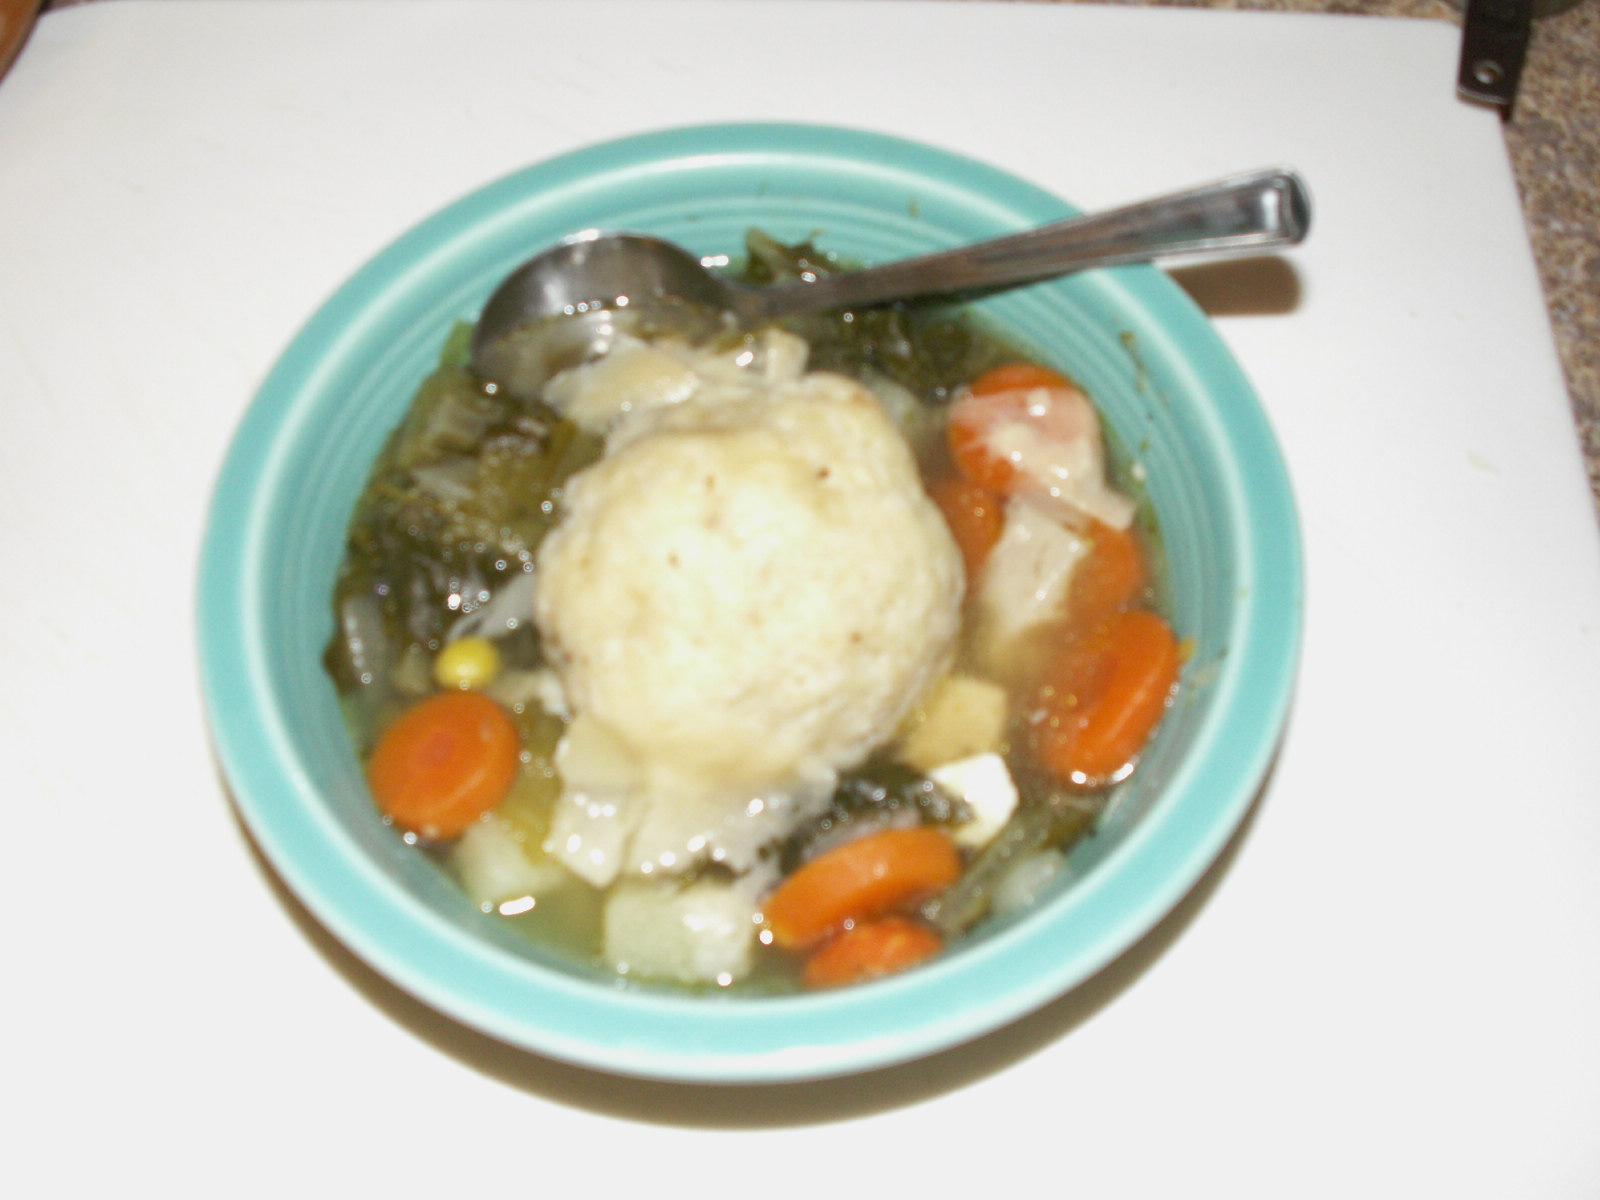
Autumn Vegetable Soup with Matzoh Balls
1 T olive oil
2 leeks, thinly sliced
1 stalk of celery, chopped
1 red pepper chopped
2 carrots, chopped
1 bunch of swiss chard, stems chopped, leaves chiffonade
1 tomato, chopped
1 qt Barnacle Broth
1 qt water
1 tsp salt
Matzoh Balls
1 C matzoh meal
4 eggs, lightly beaten
1/4 C olive oil
1/4 C seltzer
1 tsp garlic powder
1 tsp salt
black pepper
Make the matzoh balls: mix all ingredients into a thick batter and refrigerate for 30 minutes. Saute leeks, celery, pepper, carrots, and chard stems (reserve leaves) in oil. When golden, add broth and water. Bring to a boil, cover and allow to simmer while you make the matzoh balls. Divide batter into 8 portions and roll into balls. Drop into soup, cover and simmer 20 minutes. After 20, add reserved chard leaves, cover and simmer for 10 more minutes.
Dish Bitch
1 glass 1 quart measuring cup
1 c measure
1 teaspoon
knife
cutting board
pot
wooden spoon